Select the Image that 'best' matches your Controller!
The original MX Controller didn't have an labels, logos or identification marks printed on it during the intial production run. If this is the case, please select the MX controller (Center Picture).
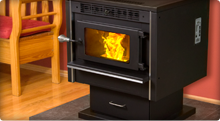
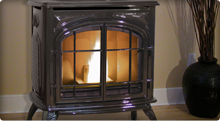
Select the Image that 'best' matches your Stove!
The looks of the stove and door colors have changed in recent times. If you can't find your model. Choose the picture that appears to be closest in size and shape to your model.
Select the Image that 'best' describes your Ignition System
Simply put, how do you start your stove?